

Personalized Glitter Bachelorette Sash

It’s wedding season, everyone! My dear friend, Mandi, just got married and I got to be a part of her beautiful ceremony. The photo above is of fellow blogger, Megan, modeling the final product, not the real bride. (Disclaimer: No marriages were harmed in the making of this blog post.) But, before she said “I do”, we OBVIOUSLY had to throw her a great bachelorette party! We had the idea to make her a fun sash to wear the night of. Instead of a generic, plain one, we decided to make her celebration really special with a personalized one! Using NuFun Activities Glitter Transfer Paper, we made this accessory one to remember. Let’s get started!
Here’s what you’ll need:
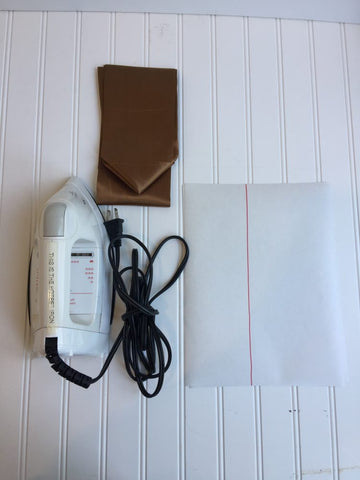
- 1 plain sash, any color. I got mine here!
- 2 sheets of Glitter Transfer Paper for Dark Fabrics
- 1 Sheet of parchment paper
- Inkjet Printer
- Iron
- Cutting machine such as a Cricut or Silhouette
- Create your design. You can type your design straight into the print and cut software, or use Word and import the file as a picture.
- Prep your Transfer Paper sheets. The glittery surface poses a bit of a challenge for the Cricut, but nothing we can’t get around! Open Word or any design software and draw a black (or whatever color you want your text to be) box that covers the entirety of page. Print. This will be the base surface for your cut. If you want to leave the text white, then skip this step.

- Load your paper into the cutting machine and cut the file.
- Weed your design.

- Pass over the fabric with an iron to remove any wrinkles or moisture.

- Peel your design off of the backing paper BY HAND and lay it onto the fabric. Don’t use a weeding mask because it removes the glittery effect. Which would be sad.

- Place a sheet of parchment paper over the transfer and iron according to instructions in the package.

- And you’re done! Get ready to surprise your friend with an awesome bachelorette accessory.
